How To Make A Circle Skirt Pattern? Easy Techniques To Master In A Day!


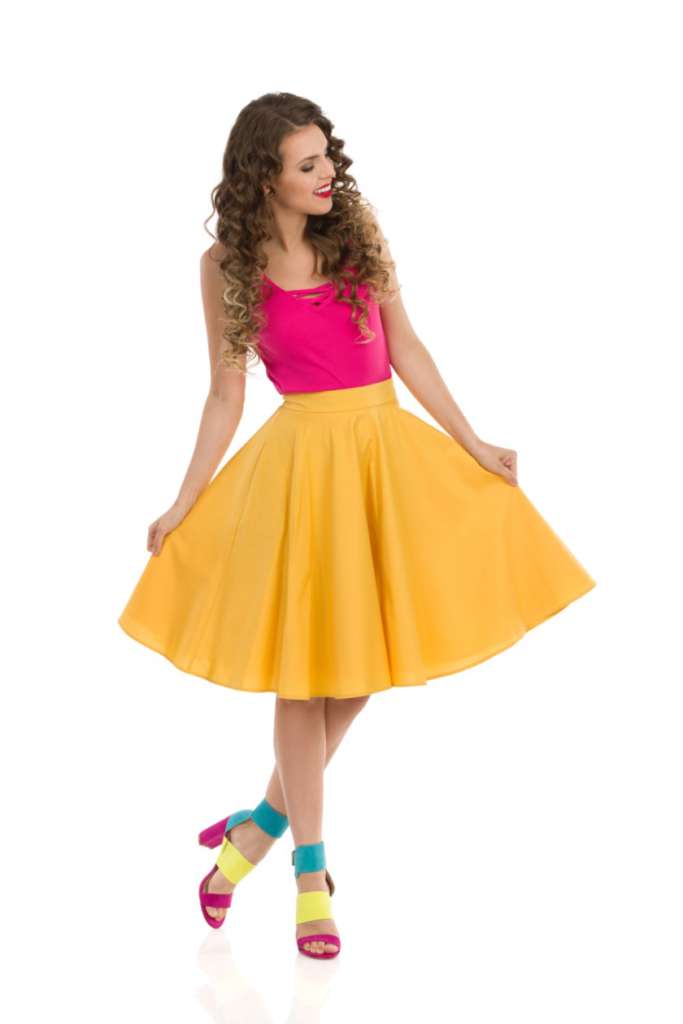
Circle skirts are versatile, stylish, and breathtakingly beautiful. These skirts rose to popularity in the 1950s when the trend of prom nights and ball dancing came into existence. Since then, it has become staple apparel for every girl who loves to swirl when she spun.
The most striking part about the circle skirt is that it suits every body type. And the good news is, sewing a circle skirt is super easy and fuss-free. Fashion designers who are new to sewing can also stitch this skirt within an hour. This is what today’s blog post is going to be about.
So, without much ado, let us dive into the details of making a dreamy, flowy circle skirt pattern.
Getting Started
Material Needed – To make a circle skirt, a fashion designer will need:
- A fitted skirt (for reference)
- One yard of colourful fabric
- Invisible zip
- Pins
- Scissors
- Sewing Machine

Fabric Folding – First of all, open the fabric wide, and fold it in half. The short edges should be even with each other. Now, fold it again, and make the long edges even as well. Designers who take printed fabric must ensure that the print is facing inwards.
Keep Aside Fabric for Waistband – Designers will need a couple of straight fabric strips for the waistband. However, they must ensure that they cut it along the folded side and not from the open part of the fabric.
Use Fitted Skirt for Reference – Next, take the reference skirt, fold it four times vertically, and place its waistband over the folded corner of the fabric. The designers can use the width of the skirt to understand how wide they should make the waistband of their circle skirt.
Cut a half-circle with the help of scissors as per the width of the skirt. Designers should cut it from the corner. Experts advise cutting the waistline a bit smaller than the actual size. This fabric is stretchable and the width can be increased later on easily.
Let’s do the Bottom of the Skirt – The real grace lies in the flow and finish of the bottom of the circle skirt. It is very easy to get the perfect bottom. Keep the skirt over the fabric and mark the measurements. Draw a curved line joining the marks and cut it with scissors. Sharp edges are not a big deal as they can be easily managed during the hemming process. Last but most important, designers should remember to add an extra 2.5 cm while cutting the bottom. It is required for the top seam and the bottom hem.
Making the Waistband
Check the Waistband Width – It is the right time to check if the waist size of the circle skirt is correct or not. Designers can check it by measuring it against the reference skirt. They are free to increase the width if they find it too small.
Measure the Waistband Fabric – Measuring the waistband is a crucial part of the circle skirt stitching process. Designers will need two fabric strips to stitch on top of each other for it. They can cut any extra length and make arrangements to sew them together. Also, please note that there is no need to use elastic in the waistband while using a stretch fabric.
Pin the Waistband – Lay the circle skirt wide open on the table. And start pinning the waistband on it. Professionals recommend pinning from one edge of the circle skirt and then moving to the opposite edge. However, make sure that both the waistband and skirt flow have printed sides in the front. Now, sew the waistband to the skirt in a zig-zag stitch pattern.
Finishing the Circle Skirt

Fold the Edges – Don’t forget to fold the edges in half-inch, before hemming the skirt. This fold should be all the way around from the edge of the circle skirt bottom. Designers can also pin the edges to make sure everything stays in its place. Pinning will also help in ensuring that the hem is even and ready for the final stitch. Here are two options for folding the edges:
- Experts recommend sewing a ribbon piece in the inner edge of the skirt bottom. Fold the fabric over the ribbon and sew it again. This trick will give a perfect professional touch to the circle skirt bottom by giving it a flowy look. The ribbon will add volume to the circle skirt making it more bouncy and elegant.
- Another option is to baste stitch the skirt hem. It is one of the best options for designers who are making a circle skirt for the first time. However, ensure to sew a stitch about half an inch away from the skirt edge. They can use this stitch as a reference to sewing the hem.
Add the Zipper
Designers should always go for an invisible zipper while making a circle skirt. They need to leave one side of the seam open to insert it. Now, open the zipper and put it wrong side up in the skirt. Match the top zipper end to the top of the circle skirt waist.
Put a vertical stitch from the seam to the waistband. There will be a second stitch that will go from another part of the zipper. Iron the edges of the zipper seam and the side seam well. Lastly, fold the top of the zipper tape and hand-stitch it neatly.
Sew the Hem – It is the right time to sew the hem with a permanent, regular stitch. However, designers must ensure that all the edges around the skirt are even. In case of a mistake in the stitch, designers can pause the sewing and resume the basting stitch to rectify it. Here are some tips to give a professional touch to the circle skirt hem:
- Experts recommend going slow while stitching the skirt hem. This process can be challenging, and designers must make every possible effort to avoid errors.
- Another great way is to iron the skirt edge before beginning the sewing process. The best is to iron it flat for a hassle-free stitch. It will help in reducing the occurrences of fabric gathering and uneven folds.
Remove Excess Threads – Once the hemstitching is done, designers should check the complete garment thoroughly. Trim unwanted threads and re-check the flow of the skirt. They can also use a dressmaker's mannequin to see the fit and bounce of the garment.
Bottom Line
So, this was all about a circle skirt pattern. Sewing a circle skirt is not rocket science. Designers who are new to the industry can easily stitch one without any external guidance. However, they must ensure that the skirt has a flawless finish and an impeccable flow. Apart from this, they should always go for stretch fabric and colourful prints for the best looks.
Last but not least, fashion designers who are planning to go for fashion brand startups should get in touch with Fashinza. It is a one-stop destination for all fabric supplier-related issues. Get in touch with them today and give life to your dreams.


